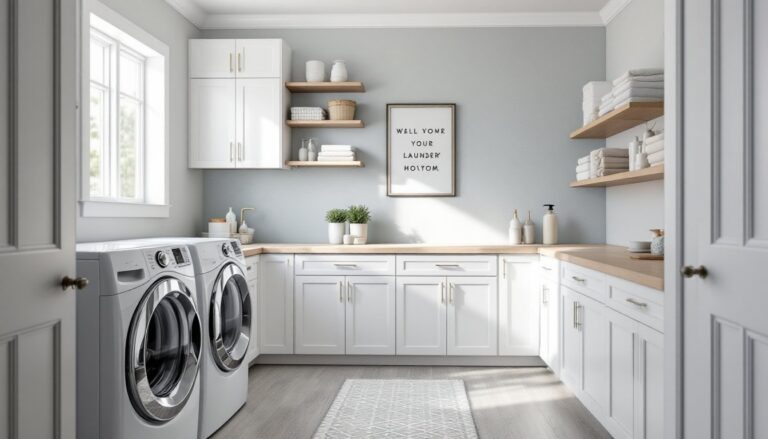
A well-designed pantry isn’t a luxury, it’s a game-changer for how efficiently a kitchen runs. Whether you’re working with a sprawling walk-in closet or a narrow galley space, the right pantry room setup turns daily cooking into a smoother, faster task. Modern pantry room ideas balance smart storage with accessibility, keeping dry goods, small appliances, and kitchen supplies within arm’s reach and clearly visible. The good news: transforming your pantry doesn’t always mean a full renovation. Many improvements are DIY-friendly, budget-conscious, and don’t require a contractor’s signature. Let’s explore layouts, shelving systems, lighting upgrades, and quick wins that’ll make your pantry work harder for you.
Table of Contents
ToggleKey Takeaways
- Choose a pantry room layout that matches your space dimensions—single-wall for narrow areas, galley for rectangular rooms, or U-shaped for maximum storage density in small footprints.
- Invest in adjustable shelving systems and matching labeled containers to prevent duplicate purchases and food waste while keeping items visible and organized.
- Add LED strip lighting under shelves and paint walls in light colors to transform your pantry from a dark, frustrating space into a functional and efficient storage hub.
- Secure shelves with heavy-duty brackets rated for at least 50 pounds per foot, anchored to wall studs or heavy-duty drywall anchors for safety and durability.
- Budget-friendly pantry room improvements under $500—including decluttering, wire shelving, shelf liners, and paint with lighting—deliver immediate everyday value and are completely DIY-friendly.
- Commit to maintaining your pantry organization system with clear containers and labels to ensure long-term functionality rather than reverting to chaos after the initial setup.
Walk-In Pantry Layouts That Maximize Space and Functionality
The layout of your walk-in pantry sets the foundation for everything else. A poorly arranged space wastes square footage and makes it easy to forget what you already own, spoiler alert: most pantry clutter comes from duplicate purchases. The key is choosing a configuration that matches your room’s dimensions and traffic patterns.
Walk-in pantries typically fall into a few standard layouts. The single-wall layout works well for narrow spaces: shelving lines one side, leaving the opposite wall open for entry and movement. This is straightforward to build and maximizes every inch. The parallel or galley layout lines both long walls with shelving and an aisle down the middle, ideal for rectangular rooms and popular in modern kitchen designs. Finally, the corner or L-shaped layout uses perpendicular walls, which works beautifully in rooms where the pantry fits into an existing kitchen nook.
Galley and U-Shaped Configurations for Small Spaces
For tight footprints, a galley configuration is your friend. Two parallel walls of shelving with a walking path between them (typically 36–42 inches wide) maximize storage without wasting space. This layout forces you to be intentional: items go in categories, baking supplies on one wall, canned goods on the other, so you always know where to look.
If your space is deeper or more square, a U-shaped layout wraps shelving around three walls, creating a contained storage hub. This design works particularly well when the pantry entrance is on the fourth wall, keeping traffic flow separate from the shelving zones. Modern pantry room designs often use this setup because it offers the most storage density in a small footprint.
Before committing to layout, measure your actual room, not the space the real estate agent claimed. Account for door swings, baseboard depth, and how much clearance you need to comfortably move through. If you’re building shelving from scratch, confirm you have wall studs to anchor brackets or shelving standards. Drywall alone won’t support loaded shelves.
Smart Shelving Solutions and Organization Systems
Shelving is the spine of any functional pantry. You can buy pre-made systems, custom-build with materials from the home center, or repurpose existing cabinets and wire shelving. Each approach trades cost, durability, and flexibility differently.
Wire shelving (the kind on metal posts you find at hardware stores) is affordable and adjustable. Expect to pay $15–$40 per shelf unit. The downside: smaller cans and jars can slip through the gaps, and you’ll need shelf liners. It works fine for bags and boxes, but isn’t ideal for small items without a lip.
Solid wood or MDF shelving gives a finished look and costs more ($40–$120+ per section), but you get true surface area. MDF is lighter on the wallet but less durable than solid wood, especially in humid kitchens. Particleboard is the budget option, avoid it for heavy loads.
Adjustable shelving systems (like wall-mounted standards with brackets) let you customize spacing as your needs change. They typically run $20–$60 per section depending on material. This flexibility is worth the extra cost if you’re storing varied item heights.
Open Shelving vs. Closed Cabinets: Choosing What Works Best
Open shelving is trendy, photogenic, and lets you see everything at a glance. The trade-off: dust settles on items, and less-pretty containers become visible. Open shelving works best if you commit to matching, labeled containers and keep the pantry tidy, it’s a daily maintenance choice.
Closed cabinets hide clutter and protect food from dust and pests, but they demand good internal organization so you don’t forget what’s hiding inside. They also cost more upfront. A hybrid approach is practical: open shelving for pretty items (matching jars, nice baskets) and closed shelving or cabinet doors for less attractive bulk goods. Many homeowners install pantry organization systems that combine both, open shelves for quick-grab items, closed doors lower down for bulk and backup supplies.
When securing shelves, use heavy-duty shelf brackets rated for at least 50 pounds per foot of shelf. Locate studs with a stud finder and drill pilot holes before driving screws. If you can’t hit studs, use toggle bolts or heavy-duty drywall anchors, they’re not as strong as studs, but they’ll hold light to medium loads. Never trust a single anchor: space multiple brackets along the shelf length.
Label everything. A label maker is a $15–$30 investment that sounds silly until you realize your family actually returns items to the correct shelf. Labeling also prevents the “mystery container” syndrome.
Lighting and Design Elements That Elevate Your Pantry
A dark pantry defeats the purpose of organization. Suddenly you’re hunting for items, using your phone’s flashlight, and grabbing the wrong can. Proper lighting transforms a pantry from a chore to use into a space that actually functions.
LED strip lighting under shelves or along the top is the easiest upgrade. Self-adhesive LED strips cost $15–$40, plug into an outlet or battery pack, and cast light directly onto shelves below, no shadows where items hide. They’re cool to the touch and won’t overheat sensitive foods. Recessed ceiling lights or a simple flush-mount fixture work too, though you’ll need to turn off power, fish wiring, and potentially open the ceiling. If that sounds daunting, stick with LED strips or wireless stick-on lights.
Design elements matter more than you’d think. A fresh coat of paint ($20–$50 per gallon) in a light color (soft white, pale gray) makes the space feel bigger and bounces light around. Dark-colored walls absorb light and can make a small pantry feel like a closet. Avoid glossy finishes: they reflect glare. Eggshell or satin finishes are practical in kitchens, they’re wipeable and don’t show every fingerprint.
Consider a step stool or rolling ladder if you have tall shelves. A lightweight folding stool ($25–$60) keeps frequently used items accessible without the “I don’t go up there” mentality that creates dead space on high shelves. Rolling ladders ($60–$200+) look good and function well, though they take floor space.
Flooring deserves mention. Concrete, vinyl, or sealed tile holds up to spills and moisture better than unfinished wood. If your pantry flooring is rough or stained, a self-leveling poured epoxy ($100–$300 for a small room) or removable vinyl flooring ($50–$150) refreshes the look without major work.
Budget-Friendly Pantry Updates You Can DIY Today
You don’t need a $5,000 pantry overhaul to make a real difference. Here are honest, practical improvements that cost under $500 and are doable in a weekend or two.
Reorganize and declutter first. This is free and often the most impactful step. Pull everything out, toss expired items, and donate duplicates. You’d be surprised how much “storage” you’re wasting on things you forgot you had.
Add matching containers. Clear plastic or glass jars ($2–$8 each) let you see what’s inside and stack efficiently. Buy 5–10 containers in uniform sizes. Decant flour, sugar, pasta, and cereals. Label them. This alone prevents food waste and saves money on duplicate purchases.
Install basic wire shelving or shelf liners. If your pantry uses old shelving that sags or has gaps, wire shelving from a big-box store runs $30–$80 for a multi-shelf unit. Kitchen design and organization inspiration shows how simple shelf systems paired with smart containers transform cluttered spaces into models of efficiency. Pop it in place with basic brackets and you’ve upgraded accessibility.
Use adhesive shelf liners. For $10–$25, non-slip liners protect shelves, prevent item sliding, and catch spills. They’re removable and easy to clean.
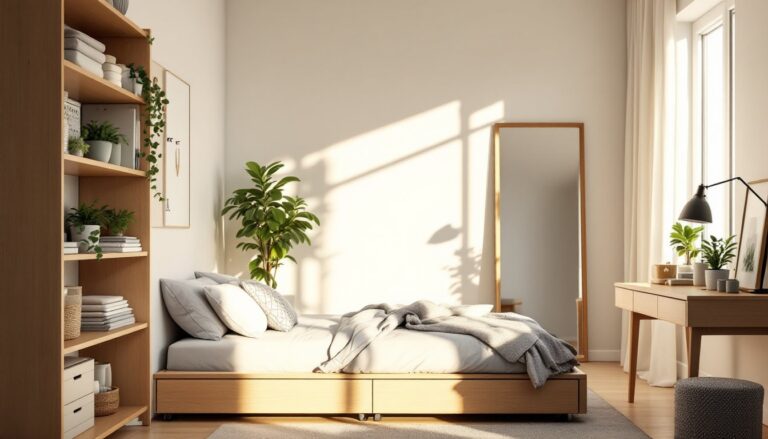
Add a rolling cart or narrow shelving unit. A $50–$120 wheeled cart fits into tight corners and stores seasonally rotated items or small appliances. Rolling gives you flexibility, move it if you need floor space.
Hang a pegboard or tension rods. Interior designers and home enthusiasts alike appreciate wall-mounted storage for odd items. A pegboard ($20–$40 with hooks) holds kitchen utensils, measuring cups, or shopping lists. Tension rods cost $10–$20 and let you hang bags and rolls of wrapping paper.
Paint and add lighting. Combine a fresh coat of light paint ($30–$50) with LED strip lights ($20–$40), and your pantry suddenly looks intentional and modern. Interior design resources demonstrate how small design touches elevate functional spaces into rooms worth showing off.
When installing shelving brackets, always locate studs with a stud finder ($15–$40). If studs aren’t in ideal spots, use heavy-duty anchors. Wear safety glasses when drilling overhead to protect your eyes from dust. If the space is small and humid, run a small dehumidifier ($30–$80) to protect dry goods from moisture.
Conclusion
A functional pantry doesn’t require perfection or a professional designer. Start with a layout that fits your space, invest in shelving that matches your budget, add lighting so you can actually see what you’re storing, and commit to containers and labels. The best pantry is one you maintain, not one that looks good for a week and reverts to chaos. Most improvements are DIY-friendly, cost under $500, and deliver immediate, everyday value. Your kitchen will run smoother, meal prep will feel less frustrating, and you’ll waste less food. That’s the real payoff.