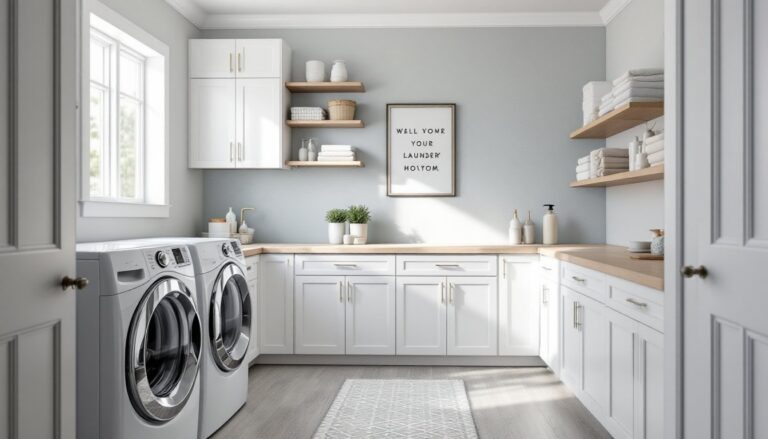
A cluttered pantry is the enemy of efficient cooking. When cans roll to the back, cereals stack haphazardly, and you’re buying duplicates because you can’t find what you already have, it’s time to rethink the layout. Whether you’re working with a walk-in closet or a single cabinet, the right pantry organization system can cut meal-prep time, reduce food waste, and make cooking less stressful. The key isn’t fancy, it’s thoughtful arrangement based on how you actually use your pantry. Here’s how to design a layout that works.
Table of Contents
ToggleKey Takeaways
- Zoning your pantry by food category—baking, grains, canned goods, snacks, and oils—eliminates decision fatigue and makes finding items faster by organizing the way your brain already thinks.
- Adjustable shelving maximizes vertical space efficiency, allowing you to customize shelf heights for different items and utilizing every inch from floor to ceiling in your pantry layout ideas.
- Clear containers with readable labels for high-turnover items like flour, sugar, and cereal prevent overbuying, reduce food waste, and make inventory instantly visible.
- Place daily-use items at eye level (36–54 inches) and heavier items on lower shelves to minimize effort and strain when accessing your most-used pantry staples.
- Adequate LED lighting and light-colored painted shelves dramatically improve visibility, cut retrieval time in half, and make labels easy to read throughout your organized space.
- Implement the FIFO method (First In, First Out) for canned goods and rotate older items to the front so nothing expires forgotten in the back of shelves.
Zone Your Pantry by Food Category
Start by dividing your pantry into logical zones. Group similar items together: baking supplies in one area, grains and pasta in another, canned goods in a third, snacks, oils and spices, and breakfast items each get their own real estate. This approach mirrors how grocery stores organize, and it works because your brain already thinks in categories.
The beauty of zoning is that it eliminates decision fatigue. When you’re hunting for baking powder at 10 p.m., you don’t want to scan the entire pantry, you head straight to the baking zone. Assign zones based on frequency of use and ease of access. Daily staples (pasta, rice, oils) belong at eye level where reaching is easiest. Occasional-use items (specialty flours, holiday spices) can go higher or lower.
If you have a walk-in pantry, consider zones by aisle: one wall for dry goods, another for canned items, a third for snacks and breakfast foods. If you’re working with a single cabinet or closet, use vertical shelving divisions or labels to carve out zones within the space. Be consistent, everyone in the household should know that baking supplies always live on the top shelf.
One practical note: keep a small notepad or whiteboard near your pantry entrance. When you use the last of something, jot it down immediately. It’s easier than hunting through an empty container later, and it saves a trip back to the store.
Use Vertical Space Effectively
Pantries are often deeper than they are wide, which means you’re fighting against wasted vertical real estate. Every inch from floor to ceiling is storage potential.
Install Shelving Systems
Adjustable shelving is your best friend. Unlike fixed shelves, adjustable units let you customize spacing to match what you’re storing, tall cereal boxes on one shelf, shorter jars below. Look for metal or heavy-duty plastic shelving units rated for at least 75 pounds per shelf (more if you’re loading cans). Avoid flimsy wire racks: they sag under weight and make containers unstable.
When installing shelves, measure twice. Account for the actual height of your tallest items, a cereal box is roughly 12 inches, so you’ll want at least 13 inches between shelves. If you’re mounting to walls, locate the studs (the vertical wooden frames behind drywall) and use appropriate anchors: most pantries use ½-inch drywall, and toggle bolts or lag screws through studs hold securely.
For renters or those who don’t want to drill holes, over-the-door shelving units and free-standing wire racks work fine for lighter loads, canned goods, spice jars, and boxed items. Stack shelves vertically to use corner dead space.
Add Door-Mounted Storage
Pantry and cabinet doors are prime real estate that many people ignore. Install a narrow tension rod inside the door frame to hang small baskets or reusable bags. Door-mounted racks hold spice jars, canned goods, or packaged items perfectly. The key is keeping weight light enough that the door doesn’t sag: cans are heavy, so use these mostly for boxes, jars, and lightweight items.
Wall-mounted spice racks or slim wire shelves on the inside of the door free up interior shelf space. Peel-and-stick over-the-door organizers work for small jars and light items if you want a no-installation option.
Implement Clear Container Organization
Clear containers are transformative, they let you see exactly what you have without pulling items out. This cuts down on overbuying flour you already own and makes inventory obvious at a glance.
Transfer dry goods (flour, sugar, grains, cereals, pasta) into matching, stackable containers with tight-fitting lids. Clear acrylic or heavy-duty plastic containers work equally well: choose based on budget. Labels are non-negotiable: use a label maker or permanent marker to write the item name and, ideally, the expiration date or the date you opened it. This prevents the “is this whole wheat or all-purpose?” dilemma at 8 a.m. when you’re baking.
Stack containers squarely on shelves, not in a jumble. This saves space and makes rotation, using older items first, a natural habit. For narrow items like pasta boxes, use a small, low-profile shelf divider (a simple plastic or wood strip) to keep them upright instead of toppling.
For canned goods, carry out the FIFO method: First In, First Out. Place new cans behind older ones so older inventory rotates to the front. A canned goods rack or tiered shelf makes this easier because you can see every label without moving containers.
Don’t go overboard with containers, you’ll waste money and cabinet space. Focus on high-turnover, high-volume items first: flour, sugar, rice, and cereal. Partial packages and infrequently used items can stay in original packaging if space isn’t tight.
Create Accessibility Zones for Daily Items
Your most-used items should require minimal effort to grab. This means eye-level placement (roughly 36 to 54 inches from the floor) for everyday staples you use several times a week: cooking oils, most-used pasta shapes, peanut butter, breakfast cereals, and frequently eaten snacks.
Lower shelves (knee-to-waist height) suit heavier items, canned goods, large jars, and bulk purchases, because bending is easier than reaching overhead. Upper shelves (above 54 inches) work for occasional-use items: serving platters, specialty baking ingredients, or holiday supplies.
One trick: dedicate a small, low shelf or a basket on the floor to snacks the kids grab regularly. It prevents them from asking where everything is and keeps crumbs from raining down on lower shelves. Label that basket clearly and restock it weekly.
For items you buy in bulk but use slowly (like cases of bottled water or large flour bags), consider storing them in an adjoining closet or basement if pantry space is limited. The pantry itself should focus on weekly-use items, not long-term storage.
Optimize Lighting and Visibility
A dark pantry defeats even the best organization. If your pantry doesn’t have a window or adequate natural light, install LED strip lighting or small battery-operated motion-sensor lights inside. These are affordable, easy to mount with adhesive backing, and use minimal energy. Aim for at least 50 foot-candles of light, bright enough to read labels clearly.
If you’re mounting permanent lighting, a small recessed light or puck light in the ceiling or on the upper shelf works well. Make sure wiring runs through the wall cavity safely (or consult an electrician if you’re unsure about the circuits).
Beyond lighting, visibility depends on labeling and organization. Painted shelves help too, a light, neutral color (soft white or pale gray) reflects light better than dark shelves and makes contents easier to spot. Use clear, consistent labels with a label maker for professionalism: handwritten labels work fine if neat, but avoid tiny, hard-to-read writing.
Arrange items with labels facing outward so you’re always reading labels, not searching for them. Stack and nest containers so the tallest items are toward the back of each shelf, and shorter ones toward the front. This lets you see everything without moving things around. This principle applies whether you have a walk-in pantry, an under-staircase closet, or a single kitchen cabinet. A well-lit, clearly labeled space cuts retrieval time in half and reduces frustration for the entire household. Consider how resources like pantry organization ideas emphasize the role of visibility and accessibility in a functional layout, they align with these same core principles.