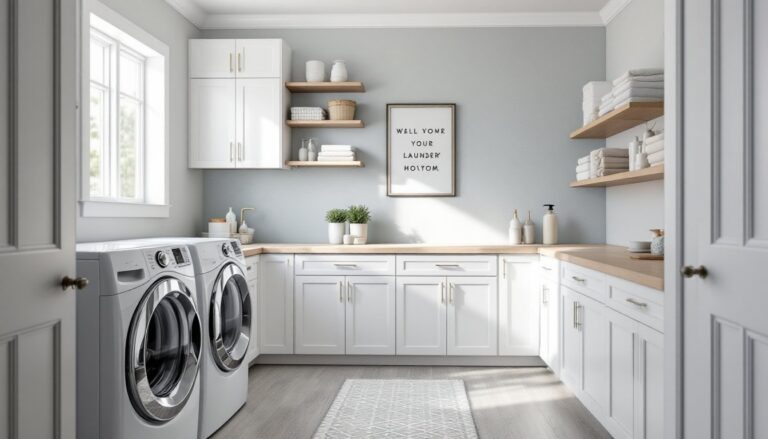
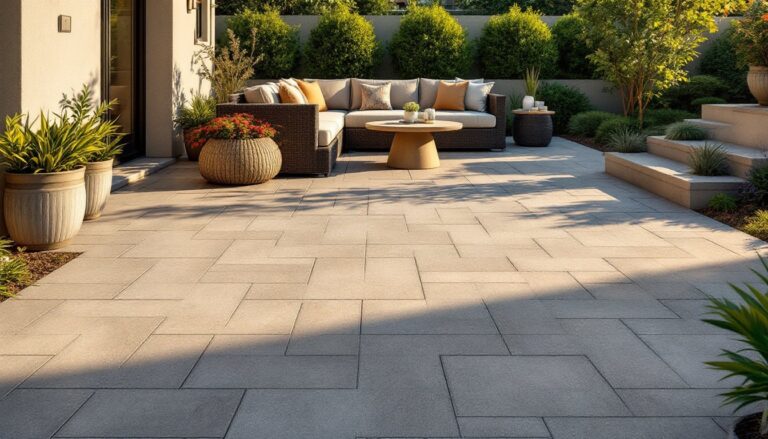
Cable railings have become the gold standard for deck upgrades, and for good reason. Unlike traditional solid railings that block sight lines, cable deck railings preserve your view while meeting all safety codes. Whether you’re looking at a complete railing overhaul or evaluating options for a new deck build, understanding cable railing styles, materials, and installation basics will help you make a decision that fits both your aesthetic and your budget. This guide walks you through the design trends, durability factors, and practical installation steps to help you transform your outdoor space.
Table of Contents
ToggleKey Takeaways
- Cable deck railings preserve unobstructed views while meeting safety codes, making them the gold standard for modern deck upgrades over traditional solid balusters.
- Stainless steel cable offers superior durability and minimal maintenance compared to galvanized alternatives, justifying its higher upfront cost for long-term value in wet or coastal climates.
- Proper cable tensioning (50-80 foot-pounds with a torque wrench) is critical during installation; under-tensioned cables sag while over-tensioning can damage posts and hardware.
- Material costs for a 20-foot cable railing project range from $800 to $2,500, with labor adding $1,500 to $4,000 if hiring a professional installer.
- Annual maintenance including hardware inspection, cable tension checks, and seasonal cleaning prevents corrosion and safety issues while extending railing lifespan.
- Cable railings integrate seamlessly with mixed-material designs combining wood, metal, or glass, offering aesthetic flexibility for everything from minimalist contemporary to industrial-inspired decks.
Why Cable Railings Are the Top Choice for Deck Upgrades
Cable railings deliver something solid balusters simply can’t: unobstructed views. Whether your deck overlooks a garden, a lake, or a mountain range, horizontal or vertical stainless steel cables keep sightlines clear while meeting building codes that require gaps no wider than 4 inches. The cables themselves are tensioned and secured to posts, creating a safety barrier that doesn’t feel heavy or cage-like.
They’re also remarkably versatile. Cable systems work with wood posts, metal frames, glass panels, and mixed-material designs. From ultra-modern minimalist decks to rustic cabins with a contemporary twist, cables integrate into nearly any aesthetic. Another major draw is longevity, quality stainless steel cable resists rust and weathering far better than painted wood or standard steel, meaning fewer maintenance headaches down the road.
The trade-off? Cable railings typically cost more upfront than basic wood balusters, and installation demands precision and the right tools. If you’re comfortable with measurement, tensioning hardware, and fastening systems, it’s a doable DIY project for many homeowners. Others prefer to hire a pro to ensure cables are properly tensioned and compliant.
Modern Cable Railing Design Styles
Minimalist and Contemporary Designs
The minimalist cable railing strips away everything except the essentials: sleek posts, tensioned cables, and clean lines. Homeowners pursuing this look typically choose 3/16-inch stainless steel cable in a horizontal configuration, with posts set 3 to 4 feet apart. The cables are typically spaced 4 inches apart to meet code, but the visual effect is nearly invisible from a distance.
Contemporary variations include pairing cables with powder-coated aluminum or steel frames for a refined industrial edge. Black, charcoal, or brushed nickel finishes are common. Some decks use cable infill panels with wood trim around the perimeter, the cables remain the focal point, but framing adds subtle warmth and definition. Glass panels can also replace cables in minimalist designs, offering even clearer sightlines at a higher cost.
Industrial and Mixed-Material Approaches
Industrial cable railings embrace heavier materials and visible hardware. Think 1/4-inch cables, stainless steel turnbuckles, and lag bolts that are intentionally left exposed rather than hidden. Posts might be square or rectangular steel tubes rather than wood, sometimes left in natural steel finish or powder-coated in bold colors.
Mixed-material designs combine cables with reclaimed wood, stone, or metal panels. A popular approach pairs horizontal cables with thick wood rails top and bottom, the cables create visual lightness while the solid wood adds warmth and structural presence. Another trend involves alternating cable and wood balusters in a checkerboard or pattern-based layout, giving traditional decks a modern twist. These hybrid systems offer flexibility: you get the open-view benefit of cables with the aesthetic richness of secondary materials.
Material Options and Durability Considerations
Stainless steel cable (316-grade is ideal for coastal or high-moisture environments) is the clear durability leader. It resists corrosion, doesn’t require paint, and maintains its appearance for decades. Cost is higher than galvanized steel, but the long-term savings on maintenance justify it for most homeowners.
Galvanized steel cable offers a budget-friendly alternative. It’s coated with zinc to resist rust and works well in dry climates or shaded decks. But, it requires occasional inspection, if the galvanizing wears through, rust can develop. Galvanized hardware (bolts, turnbuckles, lag bolts) is less expensive and sufficient for many applications.
Aluminum frame systems are lighter than steel and naturally corrosion-resistant, making them ideal for decks in wet or coastal regions. They won’t rust, but they’re also less rigid than steel and may require more frequent inspection for wear.
Wood posts, pressure-treated pine, cedar, or composite, remain popular in hybrid designs. Pressure-treated lumber is dimensionally stable and rot-resistant but requires paint or stain every 2-3 years. Cedar looks beautiful naturally but needs regular sealing. Composite materials resist decay and require minimal maintenance but cost more upfront.
Before ordering materials, check local building codes. Some jurisdictions have specific cable diameter, spacing, and hardware requirements. Rust-prone areas may mandate stainless steel, while drier climates may allow galvanized alternatives. Samples and specification sheets from suppliers will confirm material grade and finish.
Installation Basics and Cost Expectations
Cable railing installation involves four core steps: post placement, frame assembly, cable tensioning, and hardware fastening. Spacing and post height are critical, most codes require posts spaced no more than 4 feet on center and railings at least 36 to 42 inches high (confirm your local code). Posts must be plumb and firmly anchored to the deck structure.
You’ll need a tensioning kit, typically stainless steel turnbuckles and threaded rod, to secure cables at both ends. Many DIYers underestimate the importance of proper tensioning. Under-tensioned cables sag and feel weak: over-tensioned cables can crack posts or hardware. A torque wrench (set to about 50-80 foot-pounds, depending on hardware size) ensures consistent, safe tension.
Resources like Instructables and Bob Vila offer detailed step-by-step tutorials if you’re planning a DIY approach. A stainless steel cable and wood railing project walks through the full process, including material lists and tool requirements.
Cost expectations vary widely. Material costs for a 20-foot cable railing run $800 to $2,500, depending on cable grade, post material, and hardware finish. Labor (if hiring a pro) adds $1,500 to $4,000, depending on complexity and location. A simple horizontal cable design on an existing deck frame costs less than a multi-level structure with mixed materials. Get quotes from local installers, they’ll know regional code requirements and material availability.
Tools you’ll need include a level, tape measure, drill with bits for lag bolts, adjustable wrench, socket set, and a torque wrench for precise tension. Renting a specialized cable tensioner (if tackling a large project solo) costs $30-$60 per day.
Maintenance and Long-Term Care
Stainless steel cable requires minimal maintenance, occasional cleaning with mild soap and water removes salt spray, pollen, or dust. A soft-bristle brush and non-abrasive cloth preserve the finish. Avoid harsh chemicals or wire brushes that can scratch the surface.
Inspect hardware annually, especially turnbuckles and lag bolts. Tighten any bolts that have worked loose from seasonal movement or foot traffic. In freeze-thaw climates, cables may expand and contract slightly: check tension each spring and fall. Galvanized hardware may develop surface oxidation (white chalky residue), which can be cleaned off but signals that protective coating is wearing, consider replacing bolts if rust appears underneath.
Wood posts and trim require more attention. Pressure-treated lumber should be re-stained or sealed every 2-3 years. Cedar needs annual or bi-annual sealing to maintain color and prevent weathering. Check for rot or insect damage, especially where wood meets hardware or the deck frame. Small cracks are cosmetic, but soft or spongy wood indicates decay and requires section replacement.
Composite posts and trim need only occasional cleaning, no stain or sealant required. But, composite can show discoloration or mold in shaded, humid spots: a mildew-safe cleaner handles that.
Winter care depends on your climate. In snowy regions, remove heavy snow buildup from horizontal cables to reduce strain. Salt used on nearby surfaces accelerates corrosion, so rinse the railing after snow-melt season. In humid coastal areas, rinse the entire assembly quarterly with fresh water to minimize salt accumulation on stainless steel.
Prop maintenance into your annual deck checklist alongside post inspection and surface renewal. Catching small issues, a loose bolt, early rust, or minor wood damage, prevents expensive repairs or safety issues later.